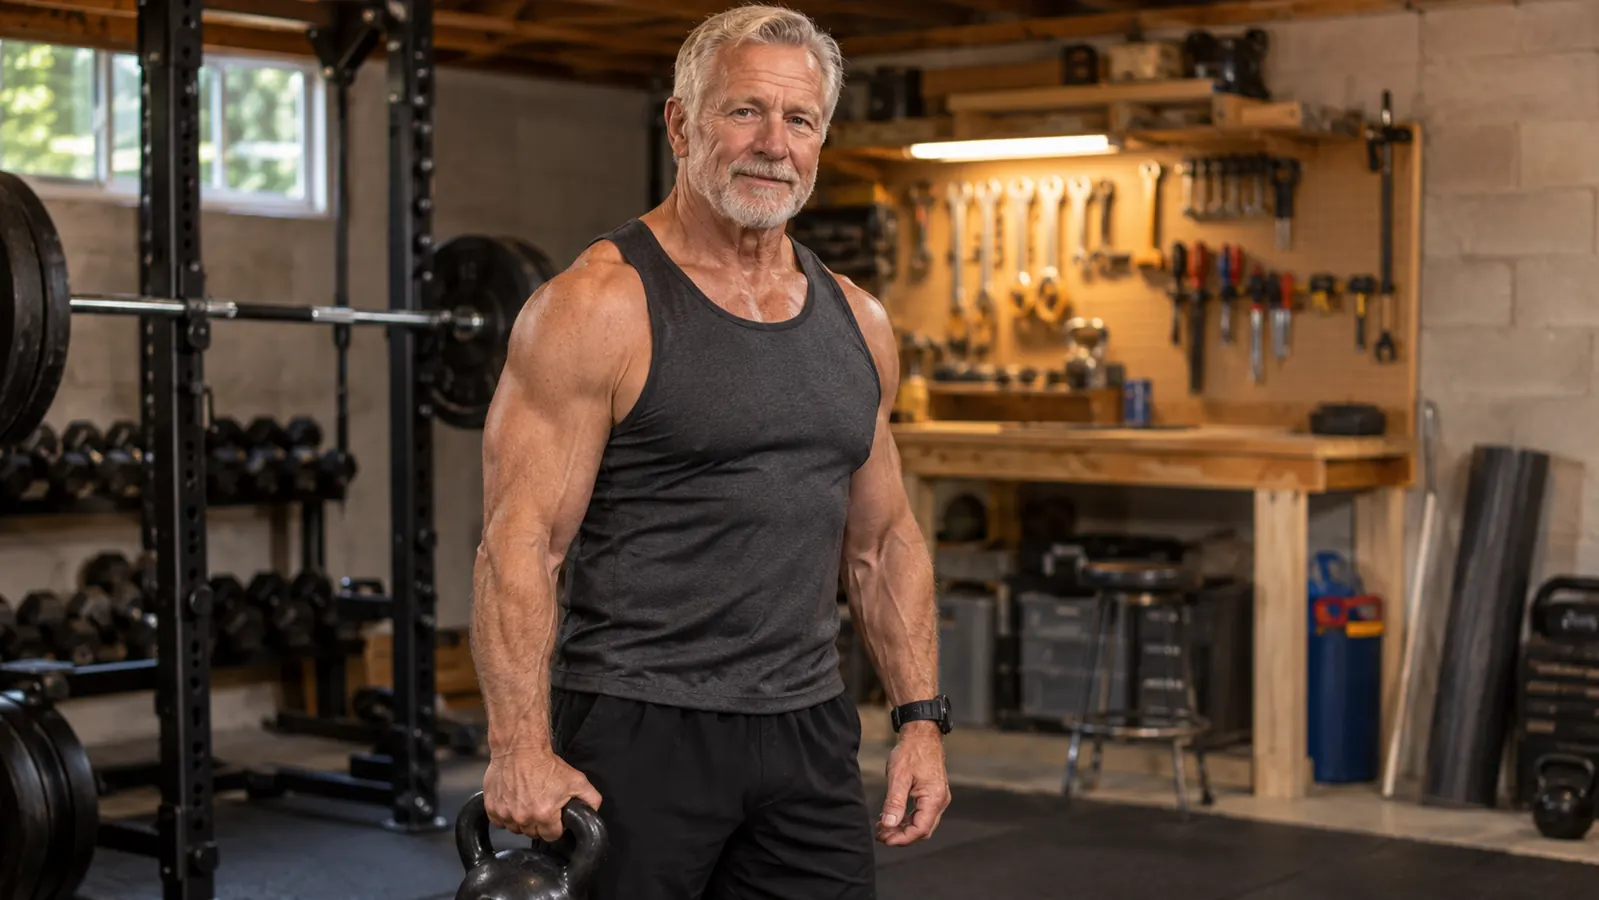
The first time I tried to get up off the floor after playing with my grandkids, I knew something had to change. I was 61, retired from teaching shop, and my knees were telling me I had spent too many years on concrete. My doctor said strength training would help, so I started in my basement with a rubber mat and a kettlebell. That kettlebell was a Yes4All vinyl model, and it turned out to be the right tool for learning the deadlift after 60.
If you are in your 60s and want to learn the kettlebell deadlift, you do not need a gym, a trainer, or a rack of equipment. You need a safe starting weight, a clear setup, and a plan that respects your joints. Here is the step-by-step way I would teach it, and the exact kettlebell I would use.
Start With a Kettlebell You Can Control
The Yes4All 10 lb vinyl kettlebell gives you a wide, smooth handle and a solid cast iron body in a weight that is forgiving for beginners. It is the weight I learned on, and it is still the one I reach for on mornings when I just want to move well. Check today's price on Amazon.
Amazon Check Today's Price on Amazon →Why I Started With a Kettlebell
I did not start with a kettlebell because it was trendy. I started because it was practical. A kettlebell takes up almost no room, it does not need an outlet, and one weight can teach you a full-body movement. For a retired shop teacher with a stiff left knee and a right shoulder that complains overhead, that was enough.
The deadlift specifically appealed to me because it works the muscles I actually use: getting out of a chair, lifting a bag of mulch, standing up from the floor after playing with my grandkids. Those are the movements that had gotten hard. The kettlebell deadlift is the same movement pattern, just with a handle attached.
The Setup That Kept Me Safe
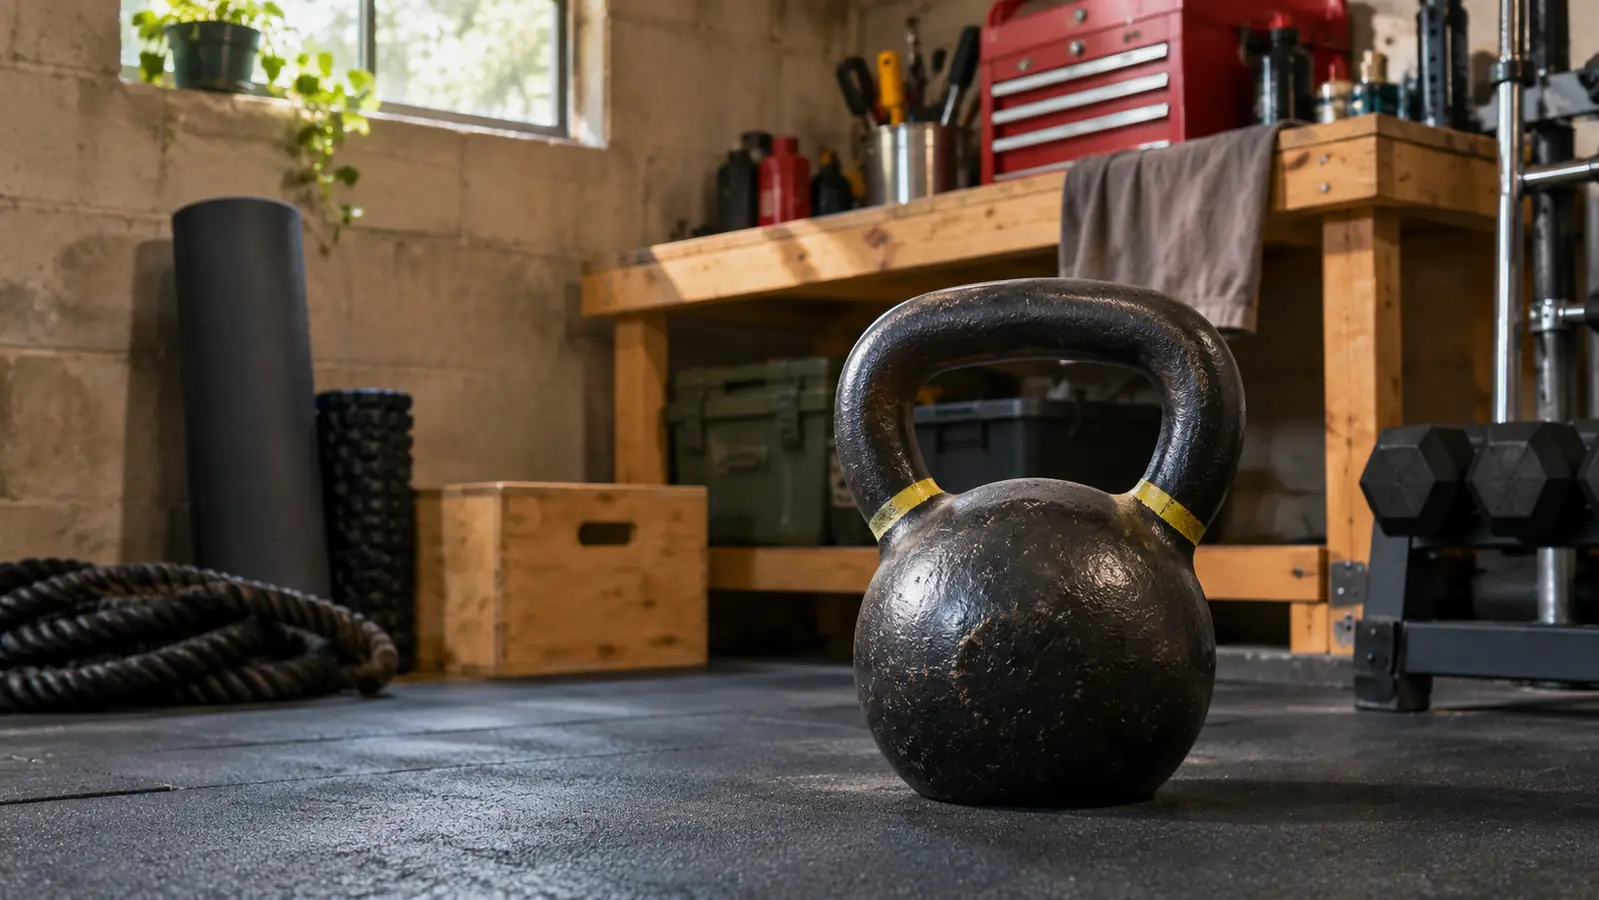
I train in a corner of my basement on a rubber mat, next to my workbench. I wear flat-soled shoes, and I keep my phone out of reach so I am not tempted to rush. Before I touch the kettlebell, I run through a quick checklist: floor clear, water nearby, and my left knee warmed up with a few slow marches. None of this is complicated, but it made the difference between a routine I stuck with and one I quit.
I also talked to my doctor before I started. I am not giving you medical advice here. If you are in your 60s and new to lifting, get your own doctor's okay first. That is not a disclaimer, it is the smart way to begin.
The Mistakes I Made So You Don't Have To
I made plenty of mistakes when I started, and most of them came from trying to look like the people in the videos. I went too heavy, I rounded my back, and I treated the deadlift like a race. The result was a sore lower back and a week off. That week taught me more than any video did.
The biggest mistake was ego. I wanted to grab a 35 lb kettlebell because it looked more like a real workout. My form fell apart by the third rep, and I felt it for days. After that, I swallowed my pride and went back to 10 lb. The weight that looks too easy is often the one that teaches you the most.
Another mistake was skipping the warm-up. I would walk down to the basement, pick up the kettlebell, and start. My left knee would complain for the rest of the day. Once I started doing five minutes of easy movement first, the difference was night and day.
Step 1: Learn the Hip Hinge Before You Lift Anything
The kettlebell deadlift is a hip hinge, not a squat. You push your hips back, keep your chest proud, and let your arms hang. I practiced this with no weight for a week. I would stand in front of a wall, feet hip-width apart, and reach my hips back until my backside brushed the wall. Then I would stand up tall and squeeze my glutes at the top.
Sounds simple, but it took me a few sessions to feel it in the right place. My stiff left knee made me want to bend my knees too much. The wall drill fixed that because it forced my hips to do the moving. Do this until the movement feels automatic before you pick up the kettlebell.
If you have a mirror, use it. If not, record a short video on your phone and watch it. You are looking for a flat back and a straight line from your head to your hips. That is the shape you want to keep for every rep.
Step 2: Set Up the Kettlebell So Your Back Stays Safe
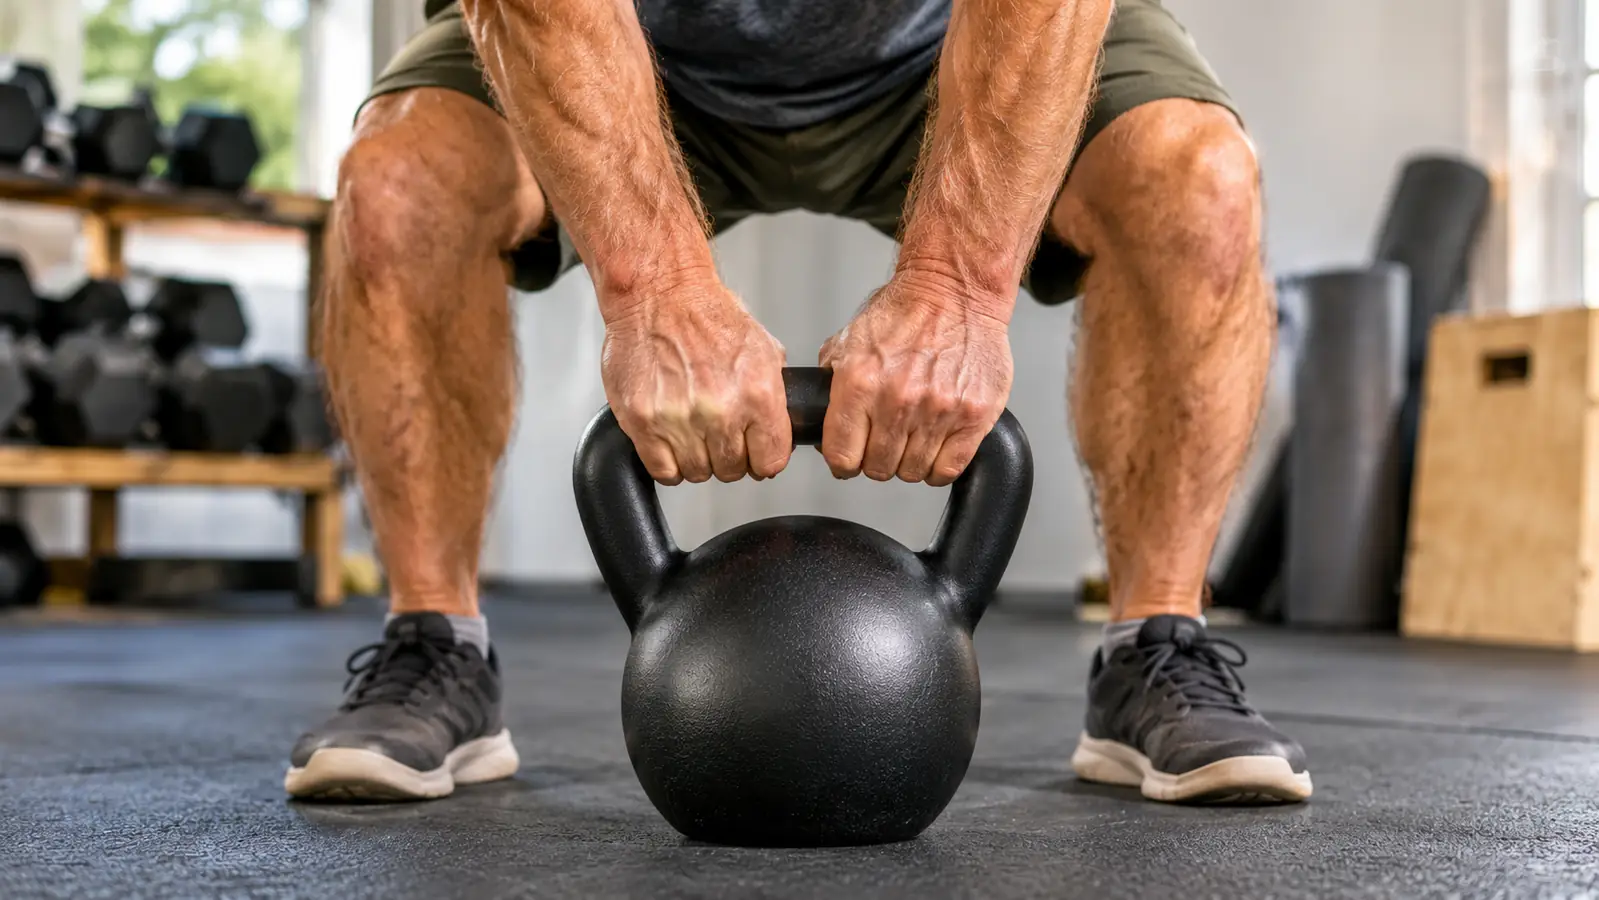
Start with the kettlebell on the floor just in front of your feet, about six inches ahead of your toes. Stand with your feet hip-width apart, toes turned slightly out. Hinge back, reach down, and grip the handle with both hands. The Yes4All handle is wide and smooth, which matters when your grip is still learning. You want to hold it firmly but not squeeze the life out of it.
Before you lift, pull the slack out of your arms. That means you take a small breath, brace your core like you are about to be bumped, and tension the kettlebell handle without actually moving it. This is the moment most beginners skip. It is also the moment that keeps your lower back happy.
Keep your neck neutral, not craned up to look at yourself in the mirror. I look at a spot on the floor about four feet ahead. That keeps my spine in one line from the top of my head to my tailbone.
Step 3: Stand Up by Driving Your Hips Forward
Now the actual lift. Push through your heels and drive your hips forward to stand up. The kettlebell should travel straight up, close to your body, like it is riding an elevator. Do not use your arms to pull it. Your arms are just hooks. Your legs and hips do the work.
At the top, stand tall and squeeze your glutes. Do not lean back, and do not shrug the weight up to your shoulders. The finish position is simply standing up straight with the kettlebell hanging at arm's length. Hold that for a second, then hinge back down and set it on the floor.
I started with five slow reps and stopped while it still felt easy. That is the discipline that kept me coming back. Your first session does not need to be hard. It needs to be correct.
Step 4: Breathe on Every Rep, Not Between Sets
Breathing is the part nobody talks about. I used to hold my breath without realizing it, and I would feel lightheaded after three reps. The pattern that worked for me: big breath at the bottom, brace, stand up, exhale at the top. Then a fresh breath before the next rep. No breath holding, no rushing.
If you feel dizzy, stop and sit down. That is not weakness, that is your body telling you to slow down. I have had days where I needed a minute on the basement steps before the next set. The kettlebell will still be there.
Step 5: Add Weight Only When the Movement Is Boring
The Yes4All kettlebell comes in a wide range of weights, but I would stay at 10 lb for the first month. When ten reps feel boring, not hard, you can think about going heavier. Boring is the goal. Boring means your body has learned the pattern and you are ready for a new challenge.
When you do go up, move in small steps. If you are using 10 lb, try 15 or 20 lb, not 35. The deadlift is forgiving when you respect it and punishing when you do not. I learned that with my left knee on a day I got greedy.
Keep your form checklist the same at every weight: flat back, hips back, arms long, stand up tall. If the form breaks, the weight is too heavy. Go back down and build more reps at the lighter weight.
How to Know You Are Ready for More
After a month of consistent practice, I started to notice small changes. The movement felt smoother, my balance felt steadier, and I stopped thinking about every cue. That is when I knew I was ready to think about a heavier kettlebell. The test is simple: if you can do ten clean reps with the same setup every time, you can consider moving up.
But moving up does not mean throwing out what you learned. I kept the same checklist, the same breathing, and the same slow pace. The only thing that changed was the weight. That is how you build strength without building bad habits.
What Else Helps
A few things made the deadlift stick for me. I trained three mornings a week, never two days in a row. I warmed up with five minutes of easy walking and some hip circles. I kept a small notebook where I wrote the date, the weight, and how the reps felt. And I asked Carol to watch my setup once in a while, because a second pair of eyes catches what you cannot feel. None of this is fancy. It is just the boring, reliable work that builds strength after 60.
I also learned to listen to my right shoulder. The deadlift does not ask much of the shoulder, but if mine felt cranky, I would do a few extra minutes of gentle arm circles before I started. Small adjustments like that kept me consistent, and consistency is what actually changed things.
I spent a month at 10 lb before I felt ready to go heavier, and that month is exactly why my back never complained.
What About Soreness?
You will probably be sore after your first few sessions, especially in your backside and the backs of your legs. That is normal, as long as it fades in a day or two. What is not normal is sharp pain in your lower back or a knee that swells up. If that happens, stop and check with your doctor.
I kept a simple rule: sore is fine, sharp is not. Soreness told me I had worked muscles that needed waking up. Sharp pain told me I had done something wrong. Learning to tell the difference kept me training for five years instead of quitting in the first month.
The Bottom Line
If you are in your 60s and you have been thinking about strength training, the kettlebell deadlift is one of the friendliest places to start. It uses a simple pattern, a light weight, and a small space. The Yes4All vinyl kettlebell gave me a solid, easy-to-clean tool that still sits in my basement corner today. It has a wide, smooth handle and a cast iron body with a vinyl finish that is easy to clean and quiet on the mat. More importantly, it helped me get off the floor myself, and that is a feeling I cannot put a number on.
You do not have to be strong to start. You just have to be willing to start light, move well, and show up again next week. That is the whole plan.
Your First Deadlift Starts With One Kettlebell
The Yes4All 10 lb vinyl kettlebell is the weight I would choose to learn on. Wide handle, solid build, and an honest tool that will not outgrow you. Check today's price on Amazon.
Amazon Check Today's Price on Amazon →