

When I turned 61, I couldn't get up off the floor after playing with my grandkids, and I struggled to lift a bag of mulch into the garden cart. That was the moment I decided to do something about it. I'm Walt, I'm 66 now, and I've been lifting weights in my basement for about five years, three or four mornings a week. I taught shop class for thirty years before I retired, so I know my way around tools. But knowing tools and knowing my own body turned out to be two different things. If you're in your 60s and thinking about setting up a weight bench at home, I want to walk you through exactly how I did it, step by step, including the mistakes I made so you don't have to make them.
The bench I use is the FLYBIRD adjustable weight bench. It has a 750-pound certified weight capacity, it's built from solid steel, and it folds up when I need the floor space. But the bench is only half the project. The other half is where you put it, how you adjust it, and how you use it safely. That's what this guide is really about.
Start With a Bench That Won't Let You Down
The FLYBIRD adjustable weight bench is the one I trust on my basement floor. It's rated for 750 pounds, built from solid steel, and adjusts in seconds. Check today's price on Amazon before you buy anything else.
Amazon Check Today's Price on Amazon →Step 1: Pick the Right Spot
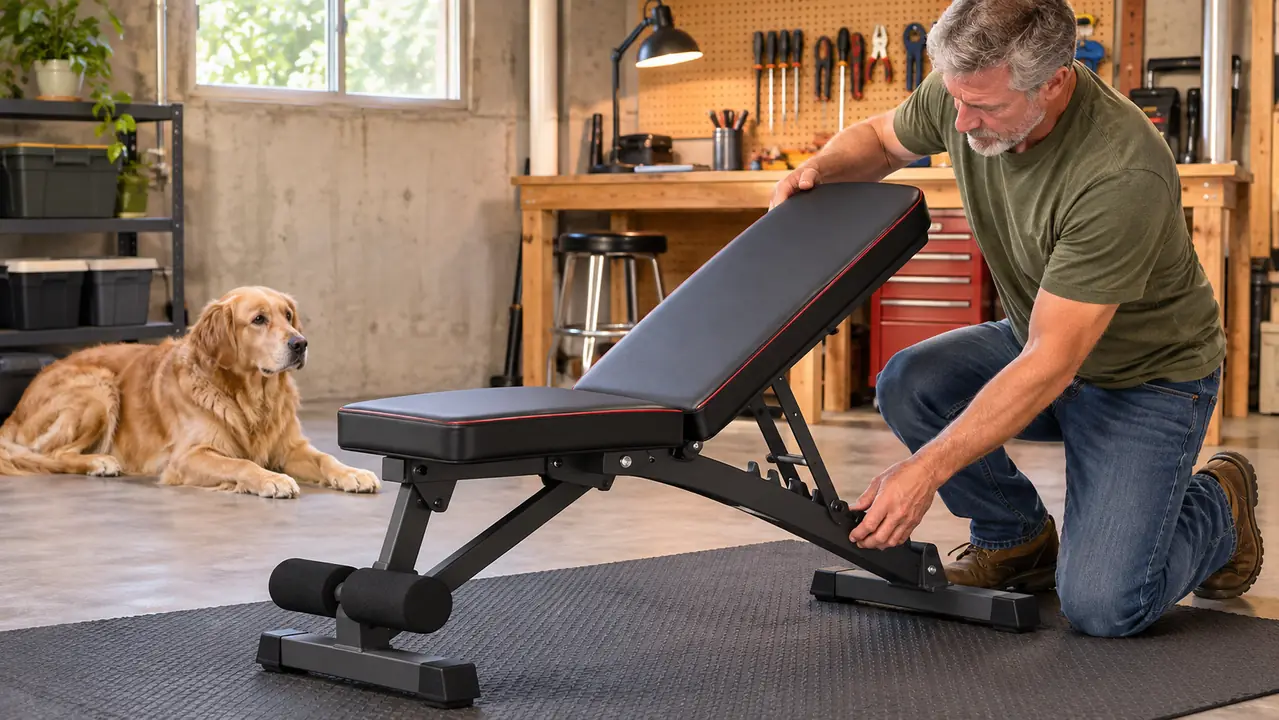
You don't need a full home gym. I train in a corner of my basement next to my workbench, on a rubber mat. What you need is a flat, level floor, enough clearance around the bench to move freely, and good light. If the floor is uneven, the bench will rock, and a rocking bench is dangerous when you have weight in your hands.
Measure your space before you buy anything. The FLYBIRD bench measures 42.3 inches wide and 15.02 inches deep, and it stands 17.38 inches high. That's the footprint. But you want a few feet of open space on every side so you can get on and off the bench safely and set a barbell down without hitting a wall. I made my first mistake here. I set the bench up in the garage first, because the concrete floor seemed solid enough. It wasn't. The garage floor slopes toward the door, and the bench rocked every time I sat down. I found out on day one, with a barbell in my hands, and that was the end of that experiment. I moved everything to the basement the same afternoon. The basement floor is level, which is the whole point. I checked it with a four-foot level before I set the bench down, and I'd suggest you do the same. A level floor is the cheapest safety feature you can buy.
I also recommend a rubber mat under the bench. It protects the floor, keeps the bench from sliding, and makes the whole setup feel more solid. I bought a 4 by 6 foot stall mat from a farm supply store, and it's been down there ever since. The mat sits between the bench and the workbench, and it gives me a clear boundary for my training corner. When the mat is down, I'm training. When it's rolled up, the space belongs to the workshop again. That boundary helped me build the habit, honestly. You don't need anything fancy, but you do need something under the bench.
Step 2: Unbox and Inspect Every Piece
When the box arrives, open it somewhere with room to spread everything out. The bench weighs 23 pounds, so you can move it yourself, but I'd still ask someone to help you lift it out of the box. My back isn't what it used to be, and I've learned not to test it. The box showed up on a Tuesday afternoon. Carol and I carried it down to the basement, and I spread every piece out on the floor before I touched a single bolt.
Lay out every part and check it against the manual before you start. Look at the frame pieces, the backrest, the seat, and the hardware. You want to catch a missing bolt before you're halfway through assembly, not after. I counted every bolt, washer, and wrench against the parts list before I did anything else. It took about twenty minutes, and it felt like a waste of time until one of the washers rolled under the workbench. If I hadn't checked first, I would have been down on my hands and knees searching for it halfway through the build. If anything looks damaged or missing, stop and contact the seller right away. It's easier to fix it on day one than to train on a bench you don't trust.
The frame is alloy steel, and the upholstery is sweat-proof leather, so it should clean up easily with a damp cloth. I ran my hand along the frame pieces while I had them laid out, checking the welds and the edges. Nothing sharp, nothing rough. But don't worry about that yet. Right now, you're just checking that everything you need is in the box.
Step 3: Assemble It Slowly and Tighten Everything Twice
Assembly is straightforward, but take your time. I put mine together on a Saturday morning, working slowly and reading each step twice. It took about an hour. If you rush, you'll miss something, and a bench with a loose bolt is not something you want under you. My first attempt at rushing taught me that: I got the base half assembled and realized I had a bracket facing the wrong way. I had to take it apart and start over. I taught high school shop for thirty years, so I've assembled more than my share of equipment. And I still learned to read the whole step before I picked up a tool.
Follow the manual in order. Don't skip ahead to attach the backrest before the base is fully assembled. And here's the step most people skip: after you've tightened everything once, go back and tighten it all again. The frame is supported by reinforced triangle structures, which is where the strength comes from, but those triangles only work if every joint is tight. I went around the frame a second time with the wrench and found two bolts that had worked loose just from the bench settling. That second pass took ten minutes, and it's the difference between a bench that lasts and one that wobbles.
Once it's together, test it before you use it. Press down on the backrest. Sit on it. Lean back. Rock side to side. It should feel like a piece of furniture, not a folding chair. I did exactly that on Saturday afternoon, and when I leaned back and the bench didn't move, I knew the second pass had been worth it. If anything moves or clicks, find the loose bolt and fix it before you go any further.
Step 4: Learn the Adjustments Before You Add Weight
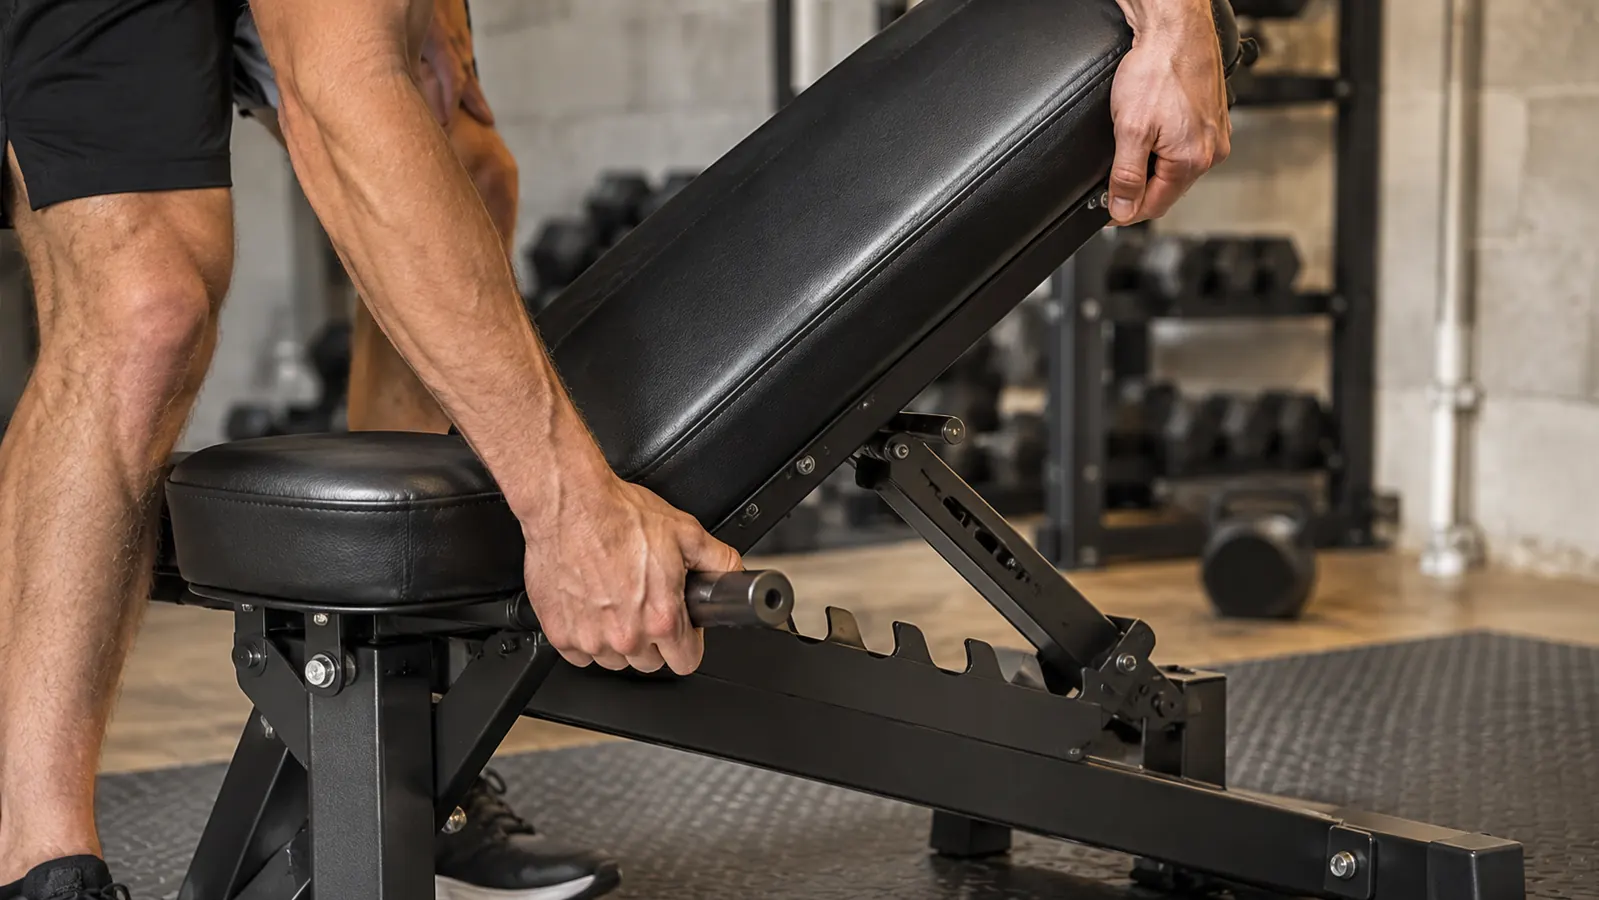
The FLYBIRD bench has 8 backrest positions, 4 seat positions, and 3 leg holder positions. You change them by pulling the support bar, which releases the backrest so you can move it to a new angle. Once you know how it works, it takes seconds. But learn it with no weight in your hands first. I spent the first week just moving the backrest up and down until I could do it without looking. The leg holder positions are for sit-ups and ab work. I use the middle one, and Carol uses the lowest one. It takes two seconds to change, and it means we don't have to fight over the bench.
Start flat. The bench sits at 17.38 inches high, which is the IPF standard competition height. That means when you sit on it, your feet should be flat on the floor and your knees should be at about a right angle. That's the position you'll use for most exercises, and it's the safest place to start. When I first sat down, I was surprised how natural it felt. My feet were planted, my knees were right where they should be, and my lower back felt supported.
Then practice moving the backrest to an incline and back to flat. Do it a few times until it feels natural. The support bar seats firmly into each position, and you'll hear it click into place. I practiced all 8 backrest positions that first week, plus the 4 seat positions, until I could change the bench without thinking about it. Carol is shorter than me, so she sets the seat one position lower when she uses the bench. That's the nice thing about having adjustments: the same bench fits both of us. The last thing you want is to be holding a barbell and suddenly realize you don't remember how to lower the backrest. Practice the movements before you ever load the bar.
Step 5: Start Light and Build a Routine That Fits Your Life
Here's what I wish someone had told me at 61: start embarrassingly light. I'm not kidding. I started with a pair of 10-pound dumbbells and a flat bench. That's it. I did three exercises: chest press, seated rows, and some leg work. My first workout lasted about 15 minutes, and I was sore for two days. Use dumbbells you can lift 15 times without struggling. Your joints, tendons, and balance need time to catch up with your motivation. I spent my first month doing light work, and it's the reason I'm still training five years later.
I train three or four mornings a week, in a corner of my basement, on a rubber mat, next to my workbench. That consistency matters more than any single workout. I settled on right after coffee, before the day gets busy, and I've kept that time for five years. Carol, my wife, sometimes trains with me, and we've found that having a set time helps us actually show up. The morning I knew it was working came about four months in. A bag of mulch that I used to drag across the yard, I picked up and carried to the garden without thinking about it. Carol noticed before I did. That was the day I stopped wondering whether any of this was worth it.
One more thing: check with your doctor before you start. I'm not a medical professional and I'm not going to pretend to be one. I checked with mine before I picked up a single dumbbell, and he gave me the green light with one piece of advice: avoid deep squats because of my stiff left knee. I've stuck to that for five years. I also have a right shoulder that complains overhead, so I keep the bench flat or at a low incline for pressing and let my shoulder decide what it can handle. Your doctor can tell you what to avoid. Listen to them, not to me.
What Else Helps
A bench is just the beginning. I keep a pair of adjustable dumbbells next to mine, plus a rubber mat underneath and a small fan for the summer. You don't need a full gym. You need a corner, a bench, some weights, and a routine you can stick to. The FLYBIRD bench folds up when I need the space, which matters in a basement that's also part workshop. It's rated for 750 pounds, which is more than I will ever put on it, and it comes with a one-year warranty. I keep a small notebook on the workbench and write down what I lift each morning. Nothing fancy, just the date, the exercise, and the weight. On the mornings I don't feel like training, that notebook reminds me that I showed up yesterday and the day before. I also hung a small mirror on the wall so I can check my form on pressing movements. It's a cheap mirror from a hardware store, and it's been more useful than I expected. When you train alone, the mirror is your spotter. That's the whole system.
At 61, I couldn't get up off the floor after playing with my grandkids. Five years later, I still train in my basement three or four mornings a week, and the FLYBIRD bench has been under me the whole time.
Ready to Set Up Your Corner?
The FLYBIRD adjustable weight bench is rated for 750 pounds, adjusts to 8 backrest positions, and folds flat when you're done. It's the bench I've trusted on my basement floor for five years. Check today's price on Amazon and start with a bench you can trust.
Amazon Check Today's Price on Amazon →